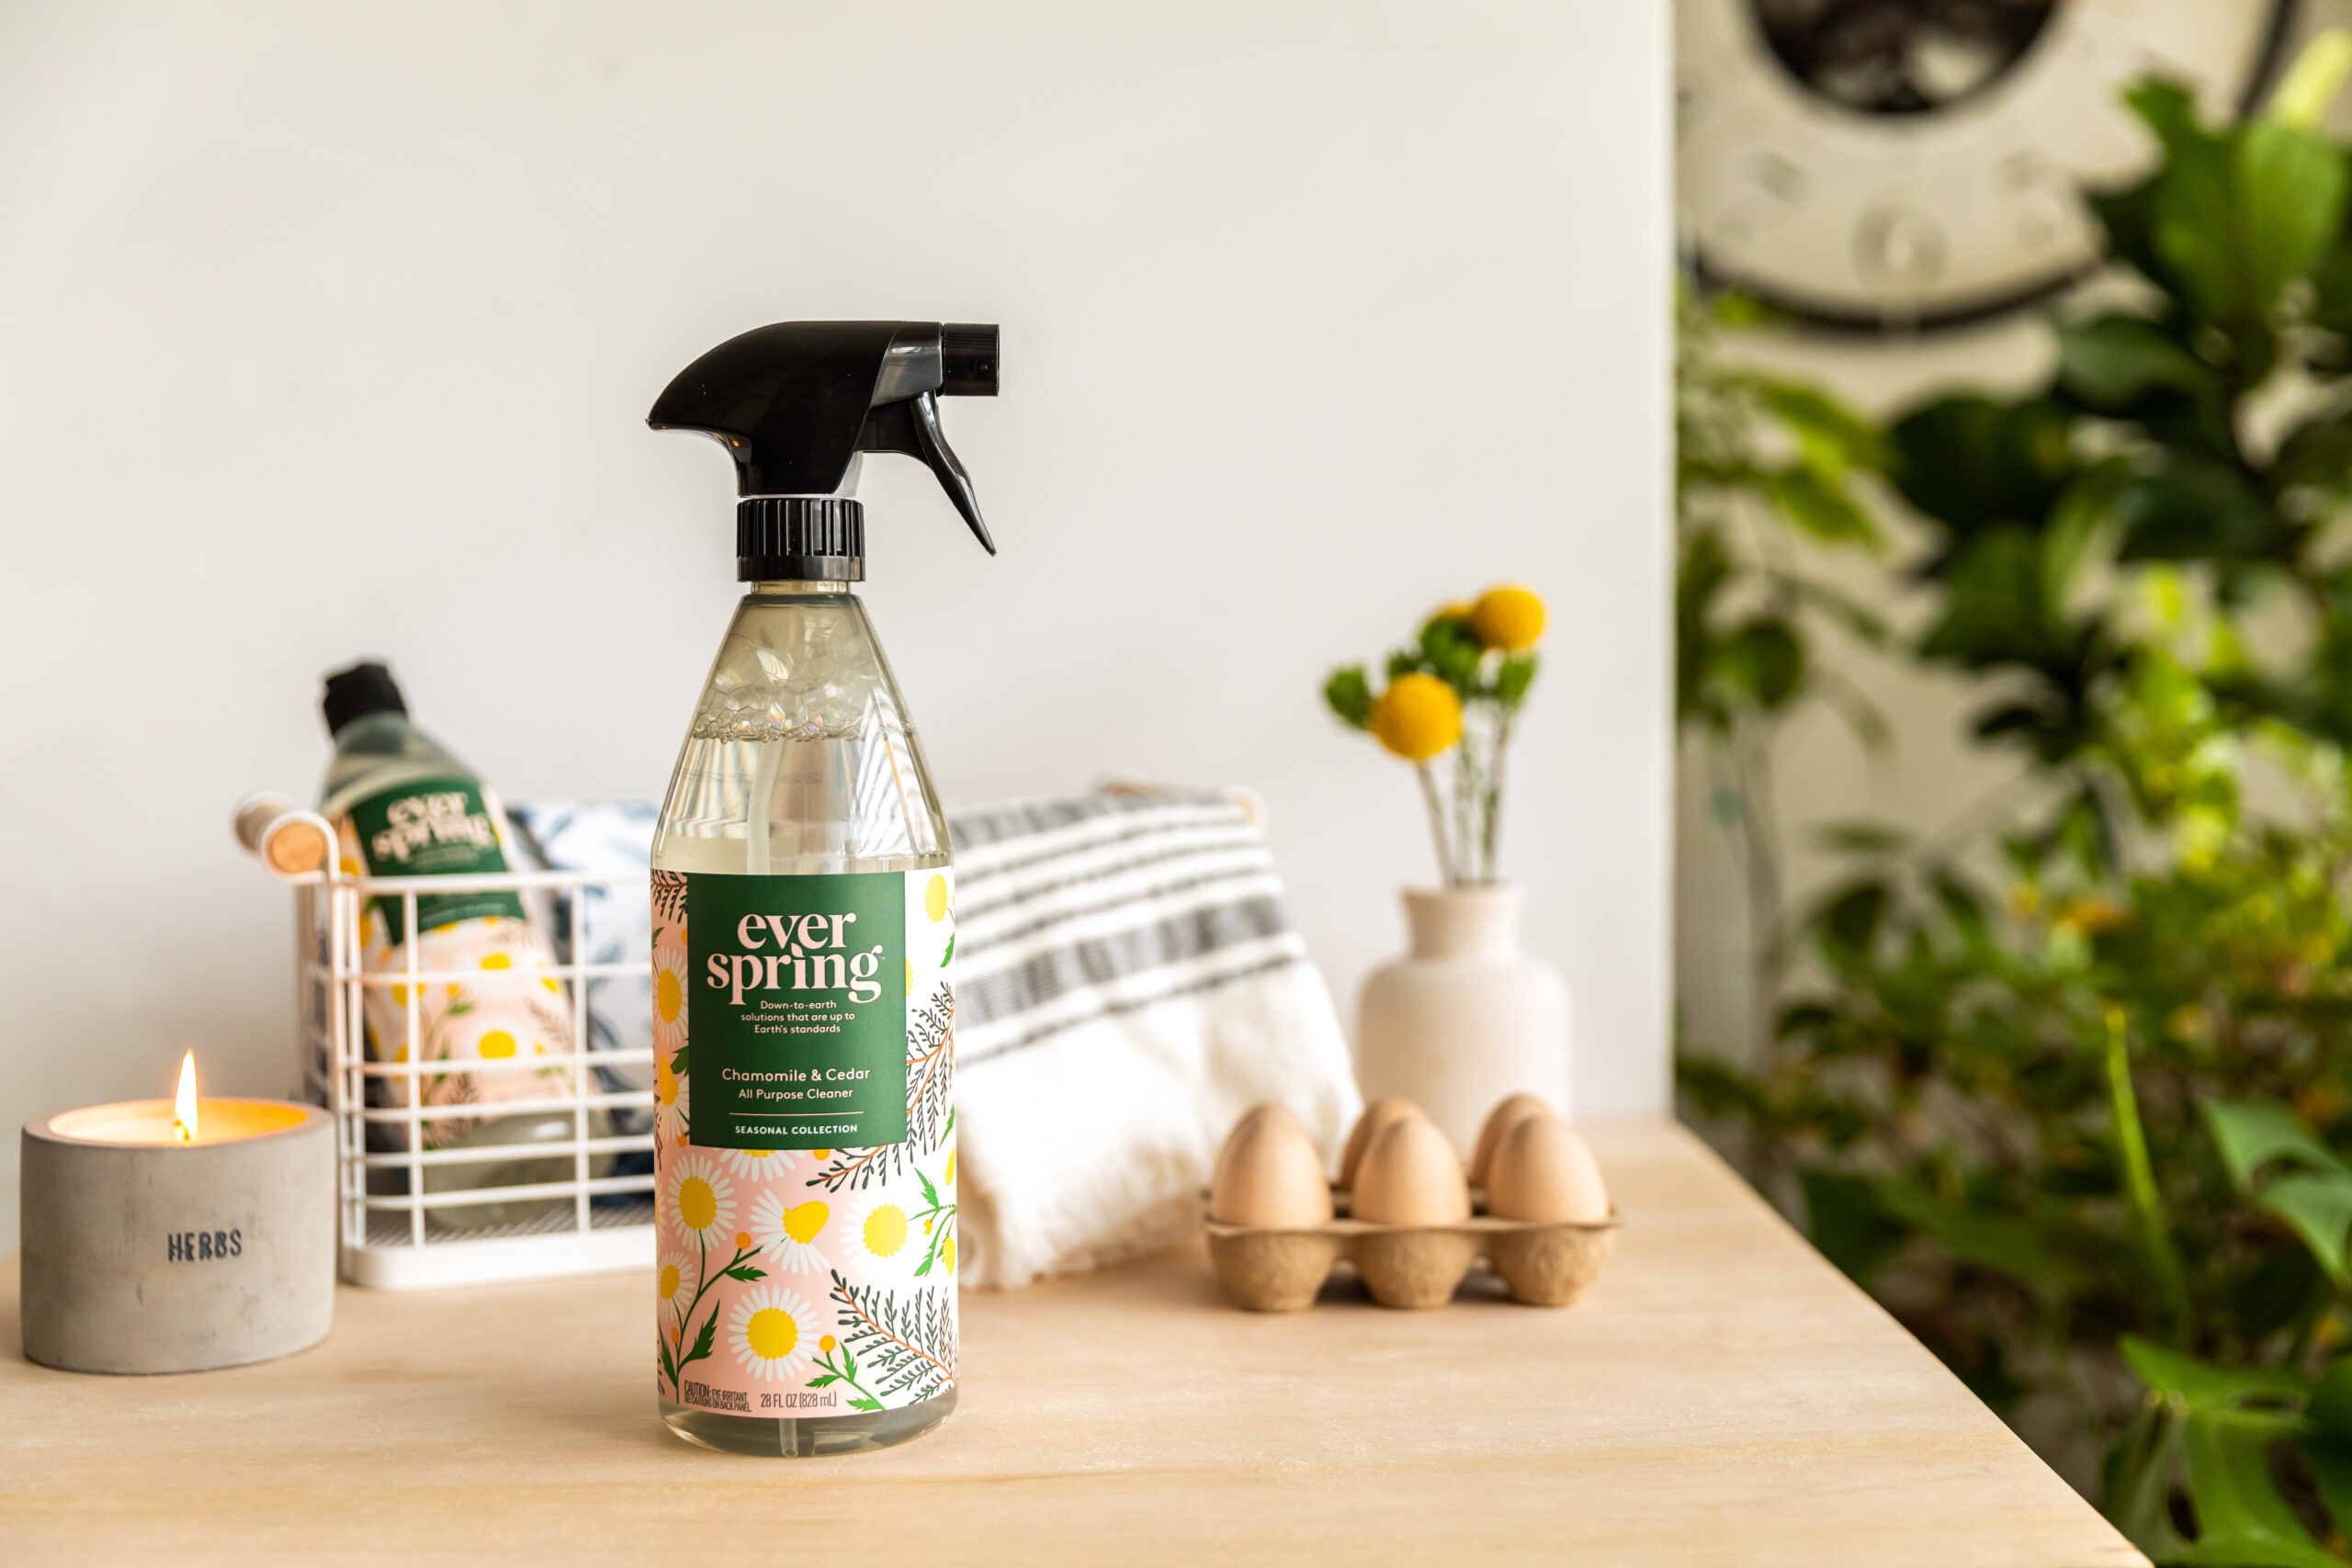
I am here to support you at any stage of your business’s development, including helping you to get the best DIY product photography that you can! As a business owner myself, I remember starting out and needing to DIY everything, including things I had never done before. If this is you and you are currently needing to take your own branding images, I hope that these 5 easy tips will help you to capture the best DIY product photography images you can on your smartphone.
1. Clean your smartphone camera lens
While a professional camera would get stored safely with the lens covered, your smartphone has most likely found itself at the bottom of your bag or in your pocket at least a time or two. This makes cleaning it imperative to get a good shot! Make sure to wipe off your smartphone camera lens with something soft, like a microfiber cloth. This will clean off any smudges or dust that might have collected on there, without scratching it like more course materials might.
2. Find the best time to shoot in natural light for your look
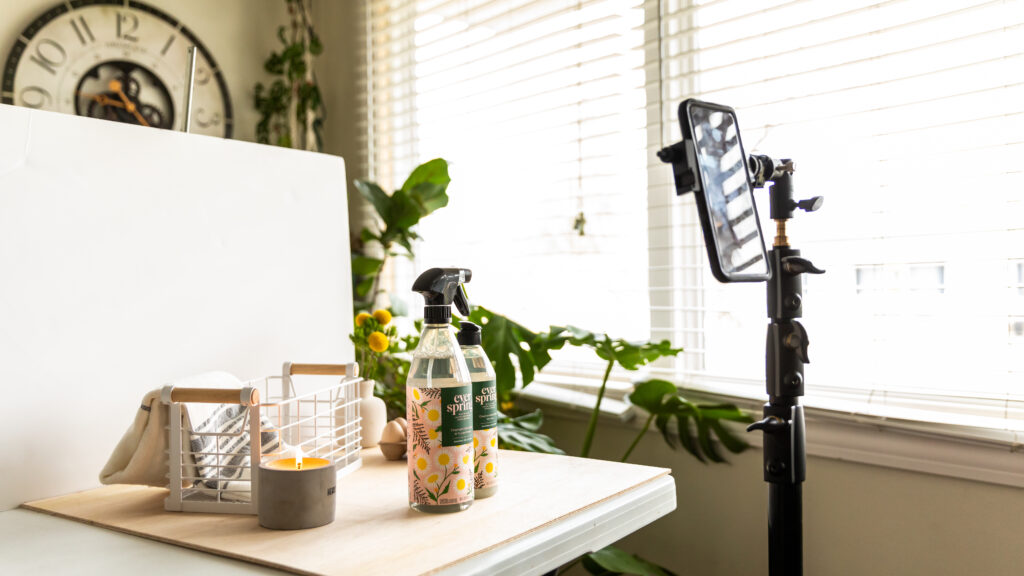
When you are not a professional photographer, natural lighting is a great go-to option when considering light. I suggest finding a window with lots of light coming in. Since you will be indoors though, there isn’t really one best time to shoot in natural light. You will just want to consider your product placement to make sure it is fully visible and there are no unwanted shadows. Depending on the time of day that you choose and where you place your product, you may end up with hard or soft light. This will change the look, but are both great options!
3. Make sure your subject is clearly in focus and apparent by using gridlines
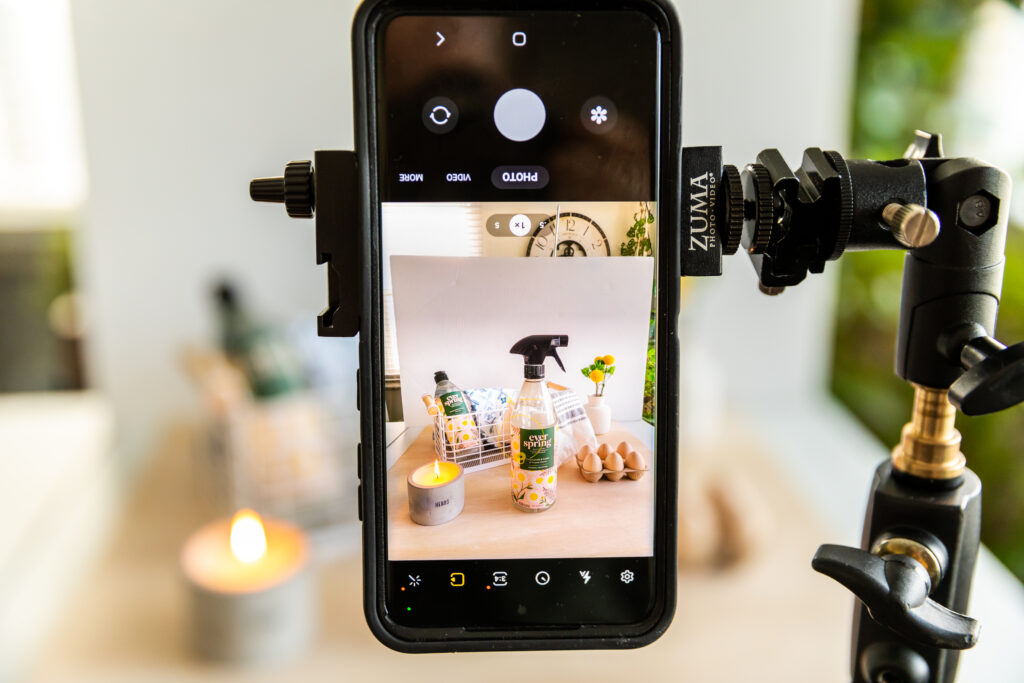
You can use the gridlines feature on your phone to help line things up and balance out your shot. This can also be particularly helpful if you are going to be posting your images to Instagram. You will want to make sure you use the square gridlines so that your subject doesn’t get cut off by the app’s standardized dimensions.
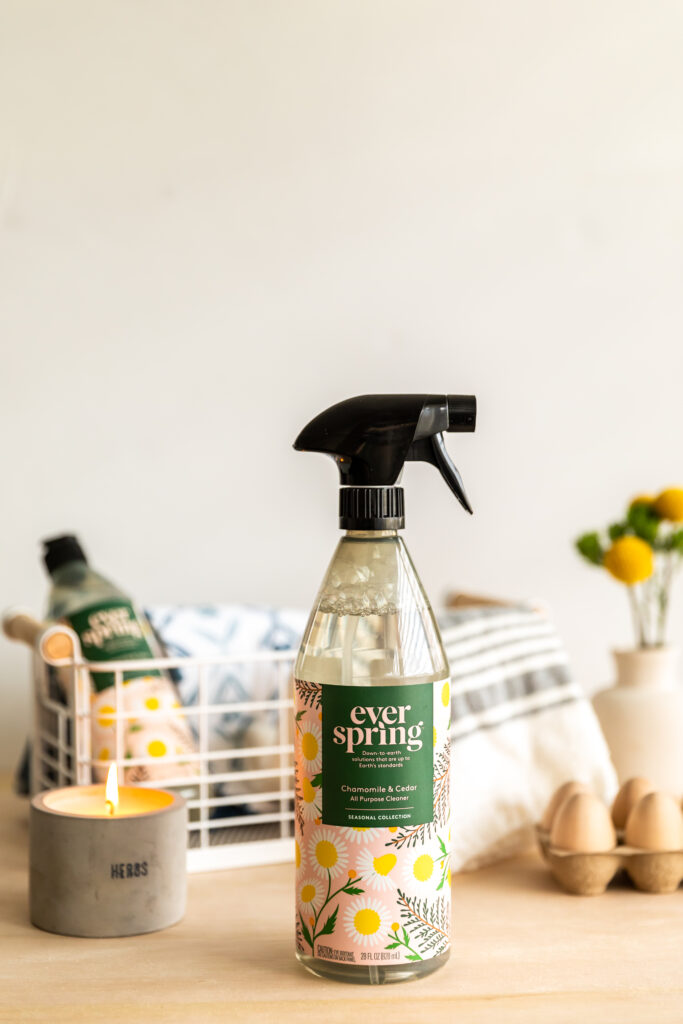
Focus on placing your product in the center square gridlines, but make sure to leave plenty of space around it as this will allow you to make adjustments for different dimensions.
4. Don’t zoom in!
For the best picture quality, you will want to avoid the zoom features as this can lead to pixelated images. Again, going back to framing, make sure you place your subject where you want it within your image. You can always crop the photo after to get closer if needed!
5. Get yourself a smartphone tripod!
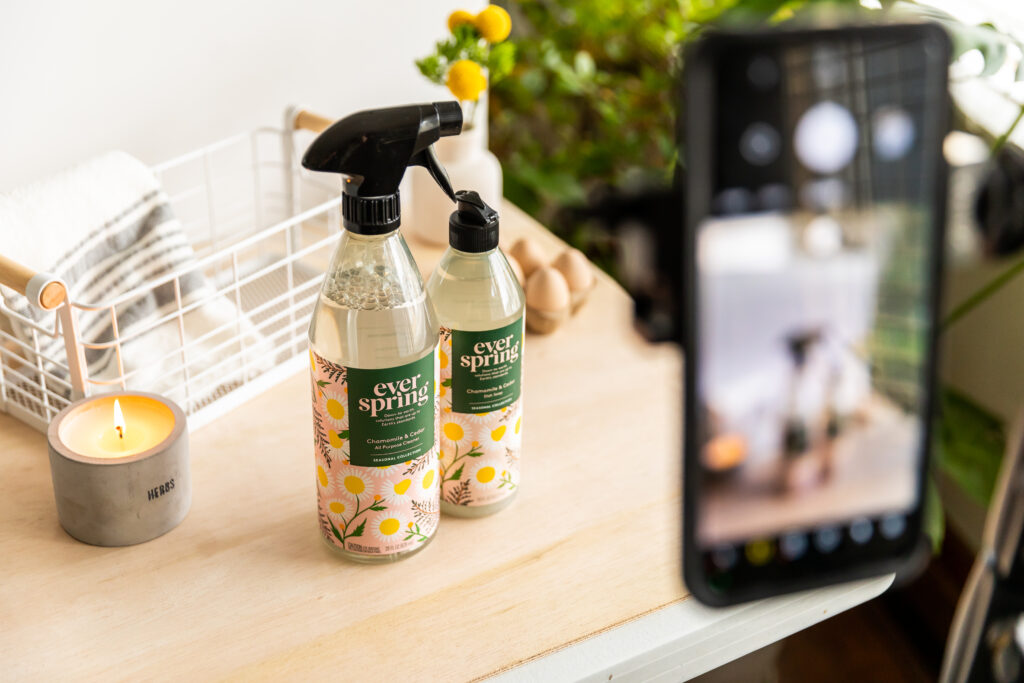
Setting up your smartphone tripod will allow you to switch out your products and keep the same settings. This will make for consistency across your product photos which will be good for websites, catalogs, and social carousels. It will also help the process to move more quickly.
Don’t forget to grab a quick video of your products while they are all set up for reels on social too!
You can find an inexpensive smartphone tripod on Amazon.
There are also tons of other things you can do to improve your DIY product photography smartphone images in post-processing editing. I will be covering some of these things in a future blog, so stay tuned for that! My hope is that these 5 easy tips will help you to get your growing business started with the best smartphone images possible! If you are looking for more guidance or are ready to have professional photos taken for your business, please don’t hesitate to reach out to me! I am always happy to set up a free consultation to discuss your needs and how I can best support you!

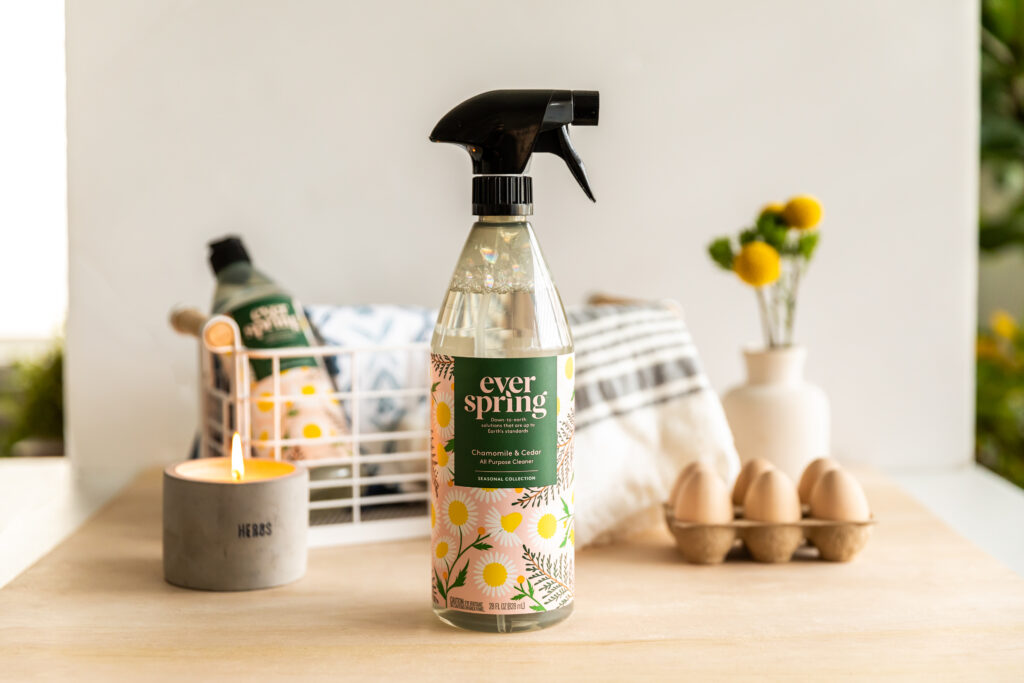
To see examples of my commercial work or to contact me check out my website: https://jenniferzmuda.com/commercial/
Helpful Tools from Adobe
Adobe has published a series of free photo editing tools, and when they asked me to share those tools with all of you I was already nodding yes before they even finished the sentence. They’re hoping to support our community of creators with these open resources. So, check out their free background remover tool here. I tested out some of my most difficult images to extract and it was super fast and accurate. It’s a great tool to help small business owners do a lot more with their product photography.

